In the fascinating world of 3D printing, creating intricate and complex objects is made possible through the magic of slicer software. While the 3D printer gets a lot of attention, it’s the slicer software that truly determines the quality, accuracy, and success of your 3D prints. This comprehensive guide will unveil the mysteries of slicer software, explaining what it does, how it works, and why it’s so essential in the realm of 3D printing.
What is Slicer Software?
Slicer software is the bridge between your 3D model and your 3D printer. It takes the digital design of your object and translates it into a set of precise instructions that the 3D printer can understand and execute layer by layer. These instructions include details about the print path, print speed, layer height, and more.
Slicer software is versatile and compatible with various 3D printer models. It allows you to select your specific 3D printer or create a custom profile if your printer is not in the software’s database. This adaptability makes slicer software suitable for a wide range of 3D printing devices.
Slicer Software Varieties
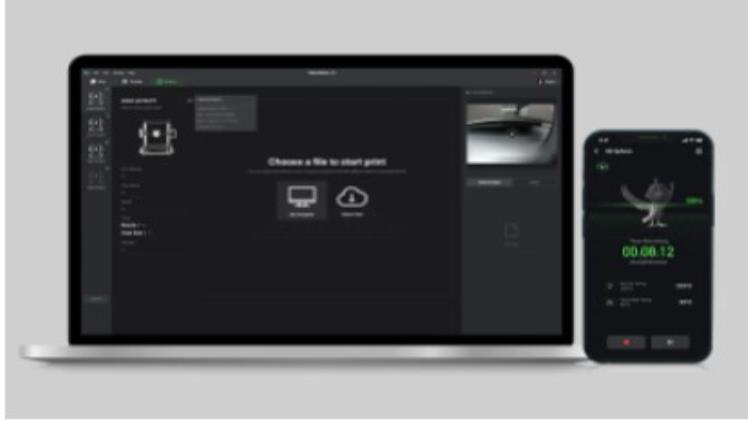
There are several slicer software options available, including free and open-source choices like Cura, PrusaSlicer & AnkerMake 3d printer slicer software, as well as commercial software such as Simplify3D. Each slicer software has its unique features, user interface, and learning curve. Your choice will depend on your specific needs and preferences.
What Can the 3D Printer Slicer Software do?
-
Importing and Positioning the 3D Model
The process begins by importing your 3D model into the slicer software. The software allows you to manipulate the model, position it on the build platform, and scale it as needed. This step is crucial for ensuring that your object will fit within the build volume of your 3D printer.
-
Slicing the Model
Once the model is positioned, the slicer software slices it into countless horizontal layers, or “slices.” These slices are essentially 2D images that represent the shape of your object at each layer. The slicer software calculates the toolpath and settings for each layer, considering factors like layer height and infill density.
-
Print Settings and Customization
One of the most powerful features of slicer software is the ability to customize print settings. You can adjust layer height, print speed, infill density, and more, depending on the level of detail and strength you require for your print. Slicer software often comes with presets for different materials, saving you the hassle of manually configuring settings.
-
Supports and Rafts
For prints with overhangs, bridges, and complex geometries, supports and rafts are essential. Slicer software generates these structures to ensure that your print is successful. Supports are temporary structures that hold up overhanging features, while rafts provide a stable base for your print.
-
G-Code Generation
The slicer software ultimately translates your 3D model and customized settings into G-code. G-code is a language that 3D printers understand, and it contains detailed instructions for each movement and action the printer must perform. This G-code is saved as a .gcode or .g file and is what you transfer to your 3D printer.
-
Visual Print Preview
Most slicer software offers a visual print preview, allowing you to inspect each layer and how the final print will appear. This is invaluable for catching potential issues before starting the print, such as gaps, overlaps, or misplaced elements.
Final Thoughts
In conclusion, slicer software plays a pivotal role in the 3D printing process, translating your digital designs into tangible objects. Understanding how to use slicer software effectively and fine-tuning your settings can make a significant difference in the quality and success of your 3D prints. It empowers you to explore the vast possibilities of 3D printing, from creating intricate prototypes to producing functional parts and artistic creations.