In today’s digital age, many people are turning to digital note-taking as a way to stay organized and reduce paper clutter. With the rise of tablets and stylus pens, it’s now easier than ever to take notes digitally.
In this blog post, we’ll explore 5 simple steps to start taking digital notes on your iPad Pro using popular apps like Goodnotes, Noteshelf, or Notability. Whether you’re a student, professional, or just looking to declutter your life, digital note-taking can be a game-changer.
Step 1: Choose your app
The first step in taking digital notes on your iPad Pro is to choose your note-taking app. Goodnotes, Noteshelf, and Notability are all excellent choices. Each app has its own strengths and weaknesses, so it’s important to consider what features you need before making a decision.
Goodnotes is a versatile app that is great for handwriting notes, annotating PDFs, and creating diagrams. It also has a robust search function, making it easy to find your notes later. Noteshelf is similar to Goodnotes, but it has a more friendly interface making handwriting a joy. Notability is a great all-around app that is particularly useful for taking audio notes and recording lectures.
Step 2: Set up your notebook
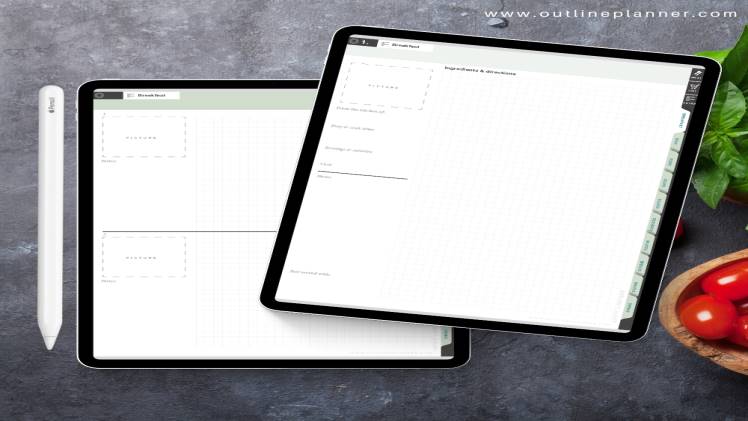
Once you’ve chosen your app, it’s time to set up your best digital notebooks. In each of these apps, you’ll create a new notebook for your notes. You can choose from a variety of paper styles and colors, or even import your own planner designs.
When setting up your notebook, consider how you want to organize your notes. You can create different sections or tabs for different subjects or projects, or simply create one notebook for all your notes.
Step 3: Start taking notes
With your notebook set up, it’s time to start taking notes. Using your stylus, you can write or draw directly on the screen of your iPad. Depending on your app of choice, you may also be able to type text or use voice dictation.
As you take notes, consider using different colors or pens to help you visually distinguish between different types of information. You can also add images or diagrams to help illustrate your points.
Step 4: Use the app’s features
One of the advantages of using a digital note-taking app is the ability to use advanced features that are not possible with traditional pen and paper. For example, in Goodnotes, you can easily erase mistakes or move text around on the page. In Noteshelf, you can record audio while taking notes, allowing you to capture lectures or meetings in real-time.
Additionally, many apps offer handwriting recognition, allowing you to convert your handwritten notes into typed text. This can be especially helpful when sharing your notes with others who may not be able to read your handwriting.
Step 5: Backup and sync your notes
Finally, it’s important to backup and sync your notes regularly to prevent data loss. Most apps allow you to backup your notes to the cloud or export them as PDFs. You can also sync your notes across multiple devices, allowing you to access them from anywhere.
Are you ready to start taking digital notes?
Digital note-taking is a great way to stay organized and reduce paper clutter. With the iPad and a note-taking app like Goodnotes, Noteshelf, or Notability, you can easily take and organize your notes in one place. By following these simple steps, you’ll be on your way to taking more effective and efficient notes in no time.
And if you’re looking for premium templates to make digital handwriting a joy check the outlineplanner.com amazing collection.